|
My forge began its life as a rusted out old LP water heater, that fomerly occupied a nice cozy spot in my basement, but
being old and cantankerous it sprung a leak(in the top fortunately for me) and God being good let me make lemonade out of
lemons. So rather than spend several hundred bucks on a nice ready-made forge, I got to make my own for less than a family
trip to the movies, and I got a new boiler in the house to boot.
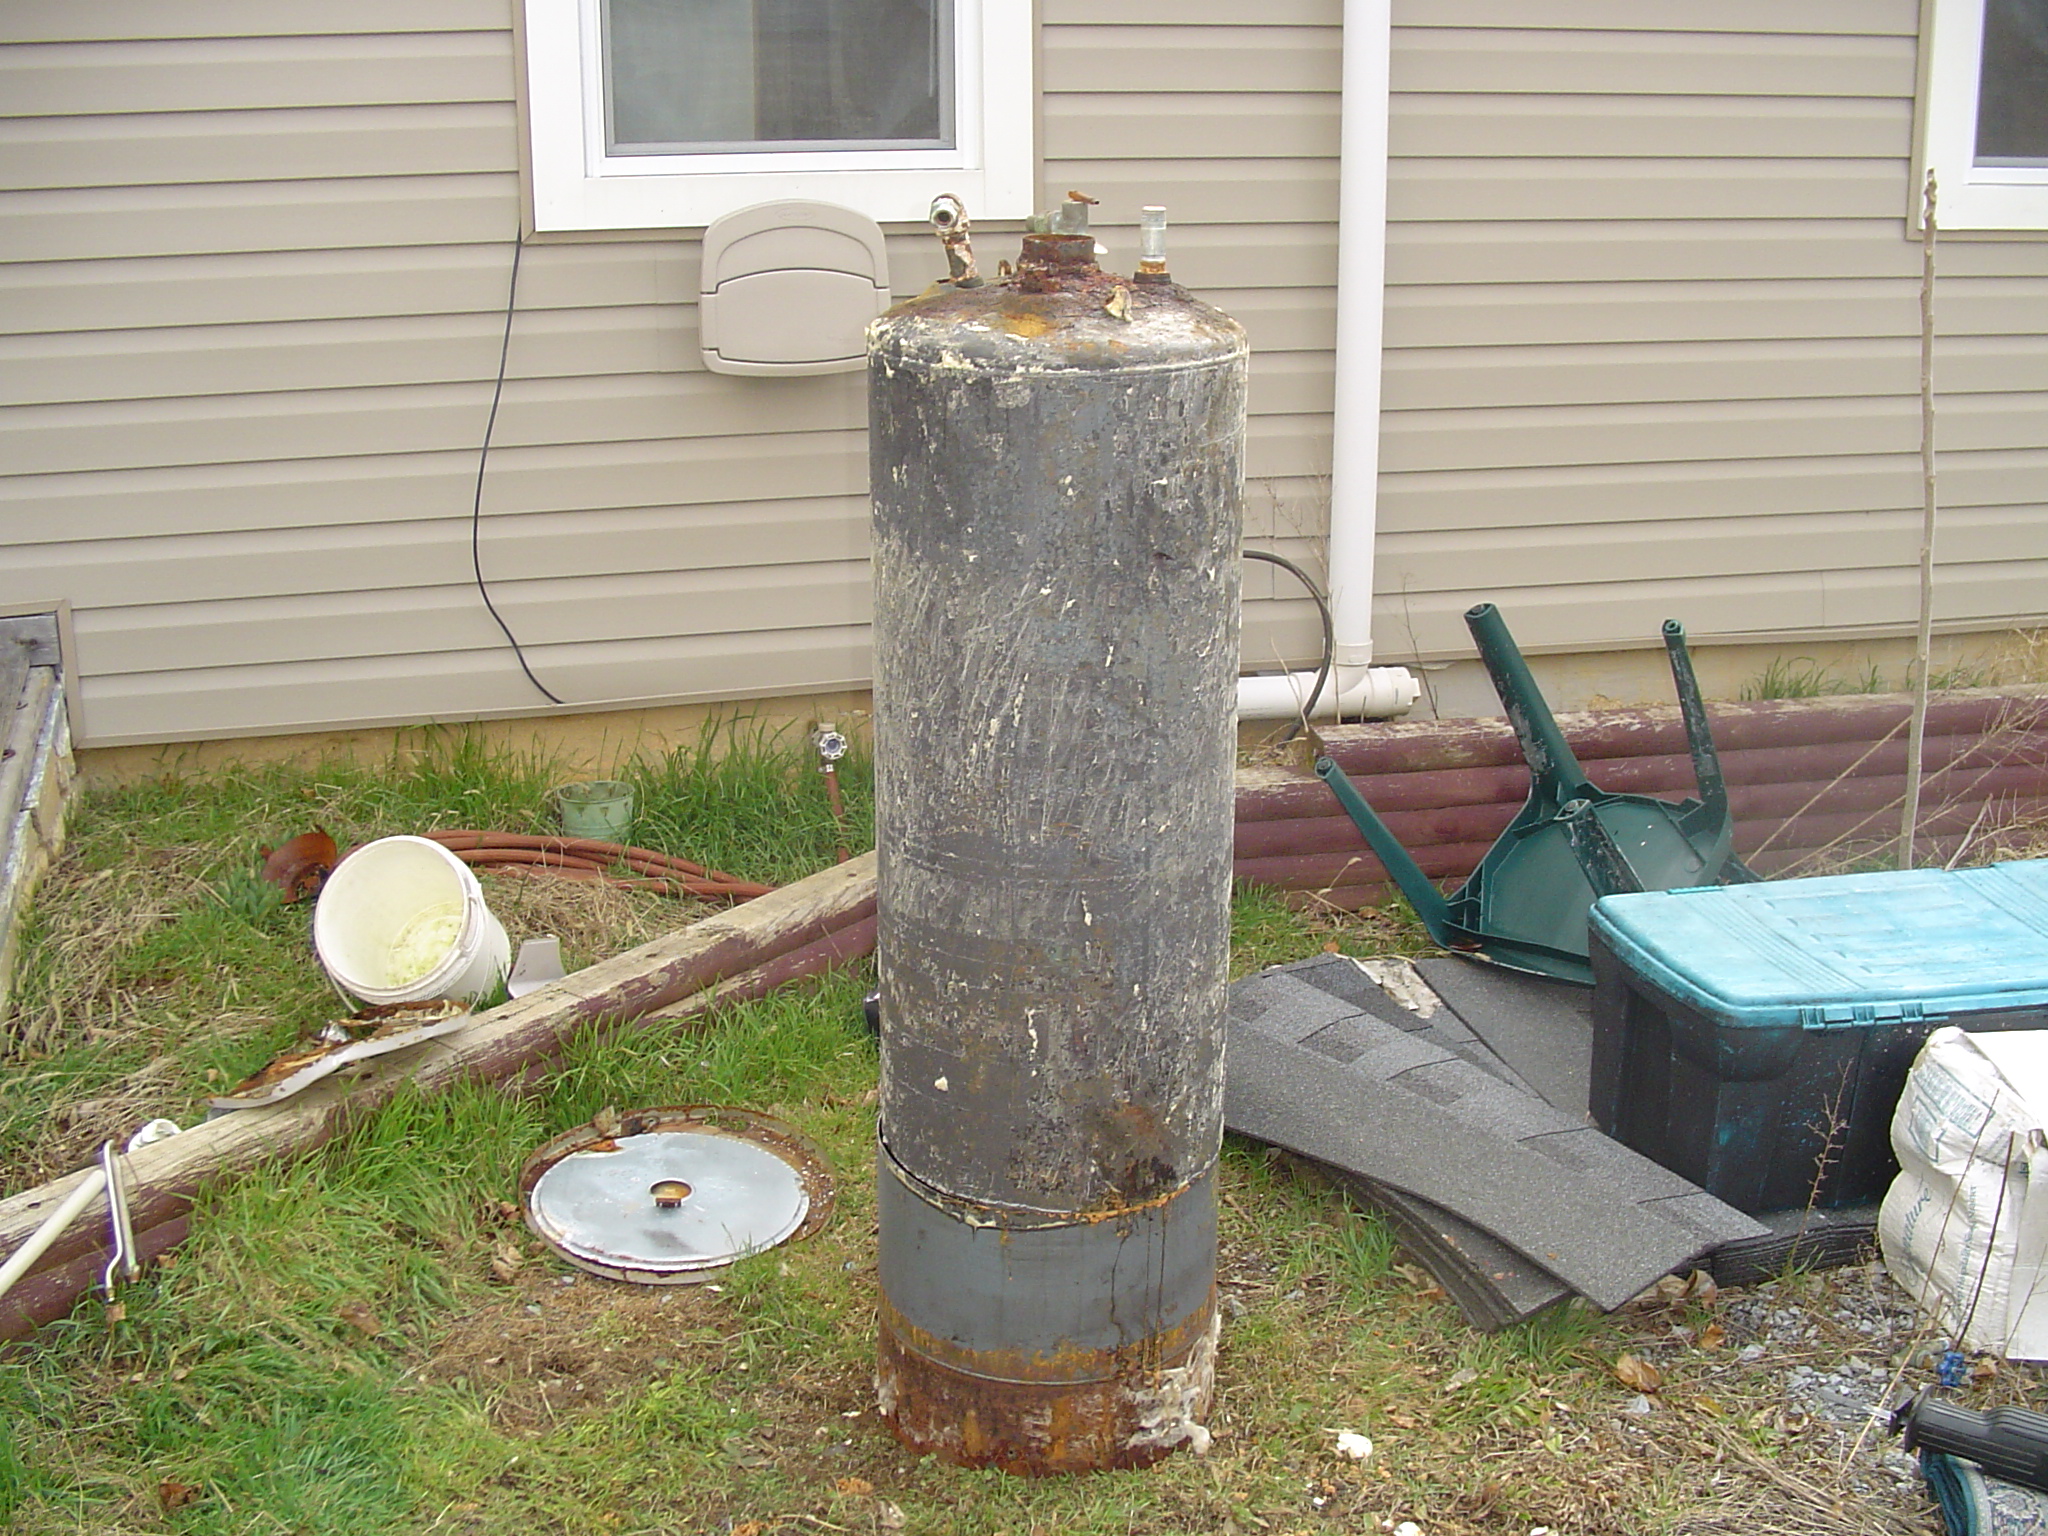
The first thing I had to do was remove the bottom, burner, thermostat and all the leftover plumbing on the top.
Next I peeled off all the outer skin and the insulation. The insulation on these jokers is something like sprayfoam, but a
bit tougher so I used a big prybar to chip it all off. It to me about an hour to strip it to the point pictured above including
clean up and making the circumfrential cut around the base. I cut well above where the bottom of the water heater
is to allow plenty of room for attaching the legs.
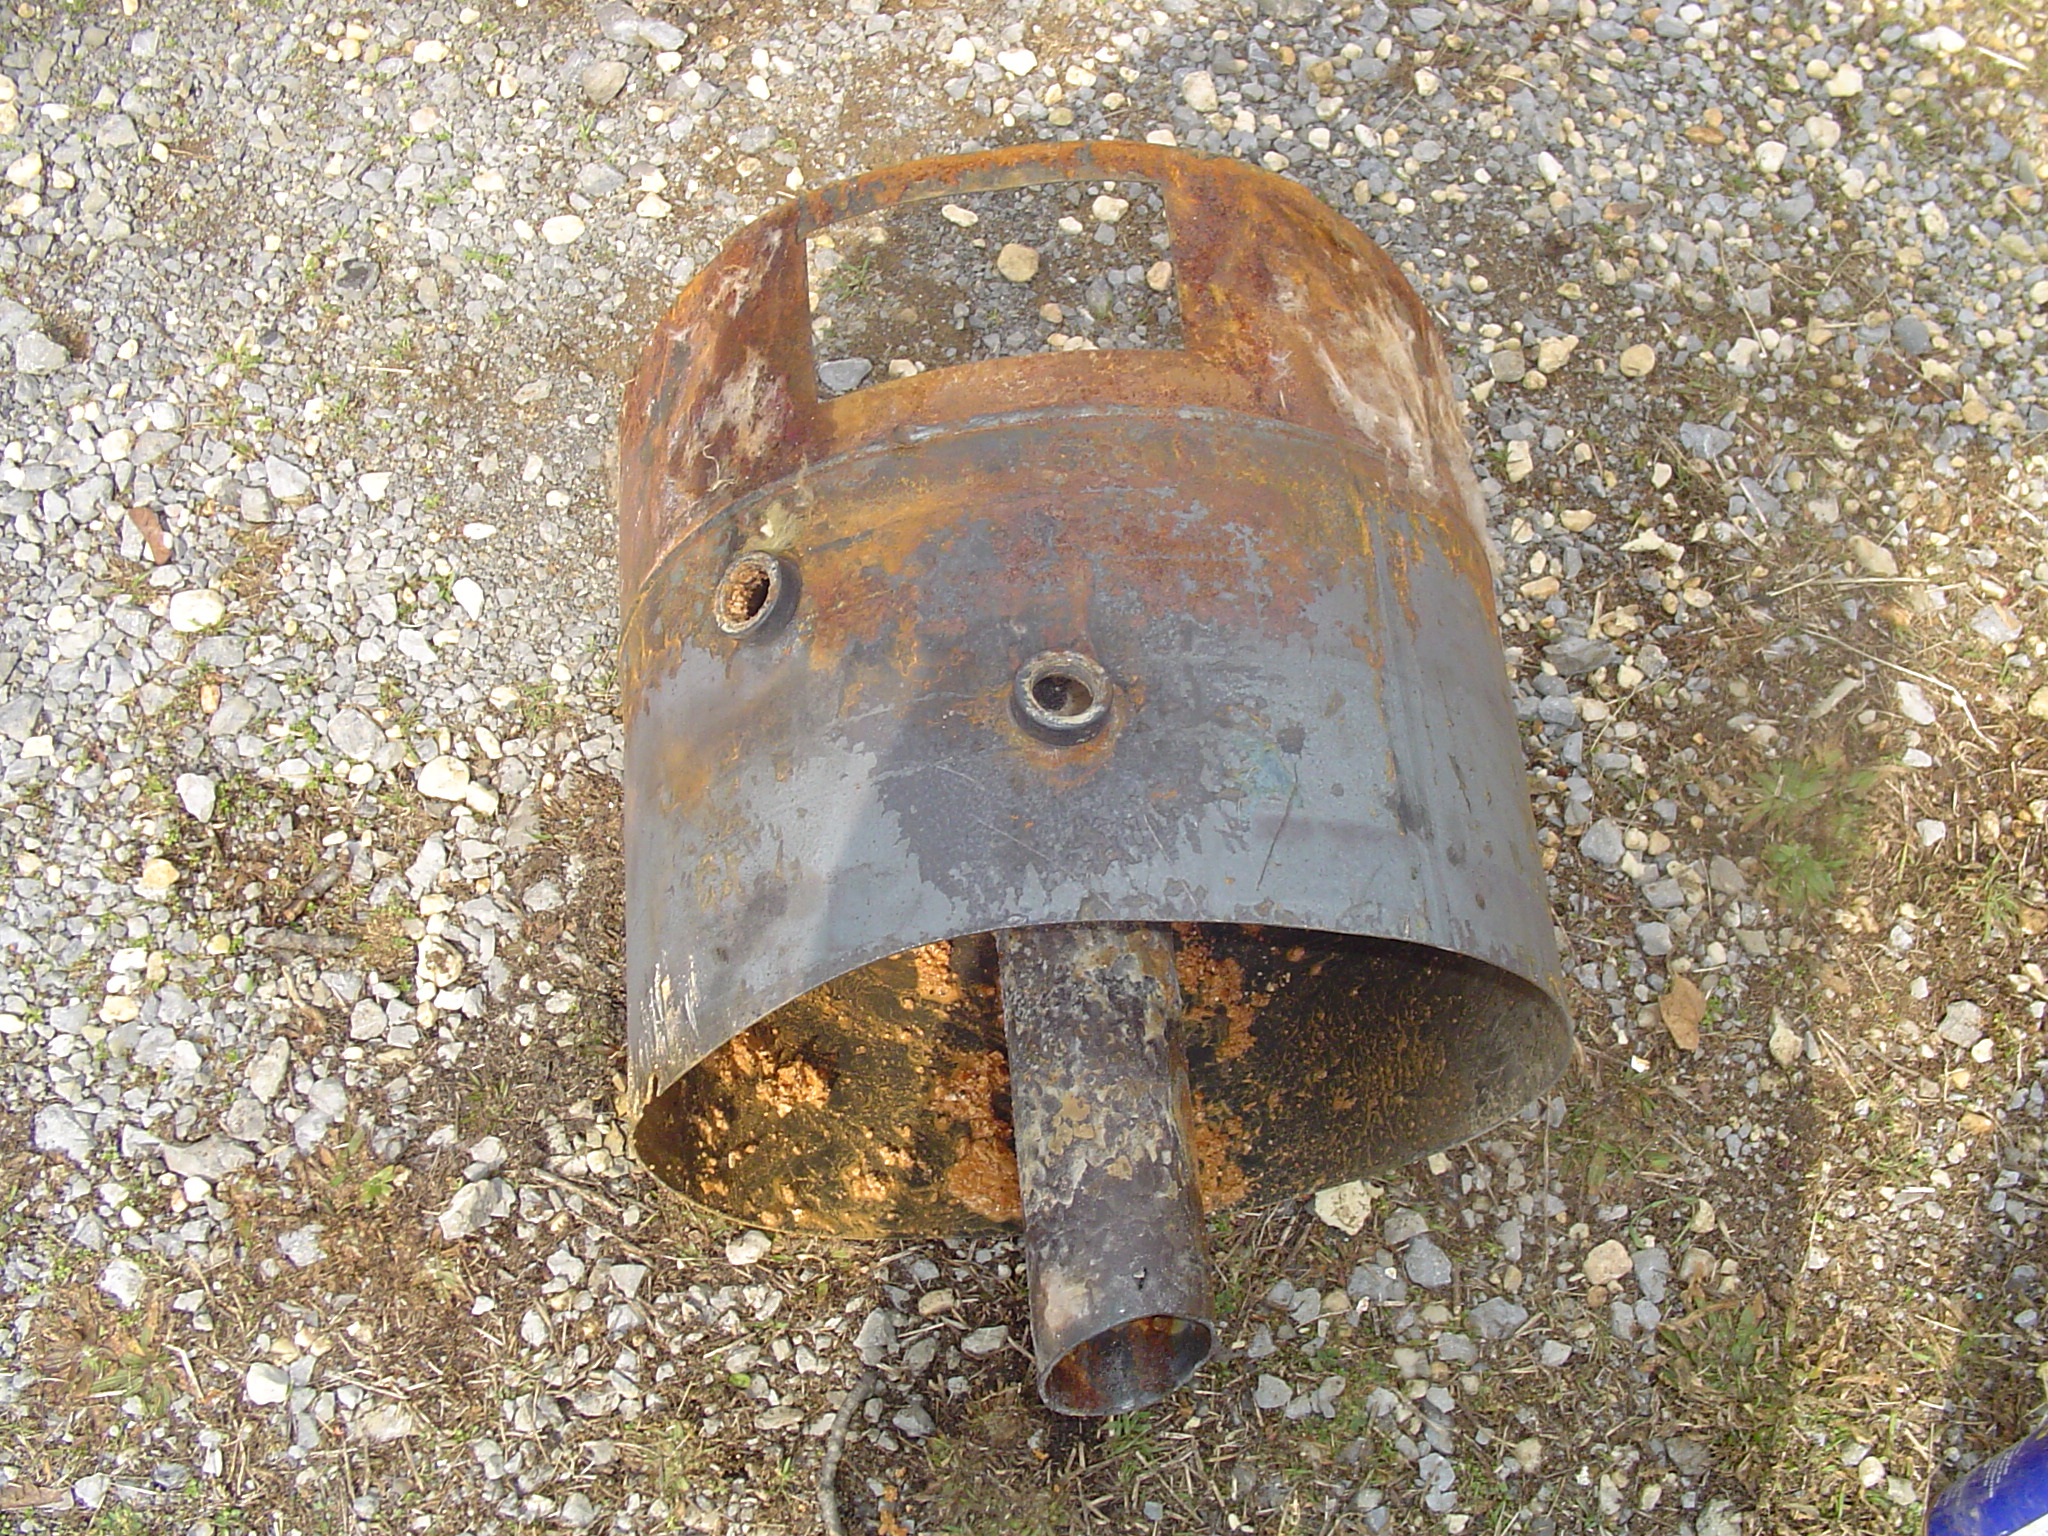
After I cut throught the outer wall of the tank, I cut an access on the upper side of the tank to cut through the flue
pipe(remember we're talking about a gas heater) and I made the cut through the flue pipe a bit higher than the cut through
the outside as this makes it much easier to attach your tuyere(the T shaped part that your air source and ash dump comprise
pronouced tweer).
|

